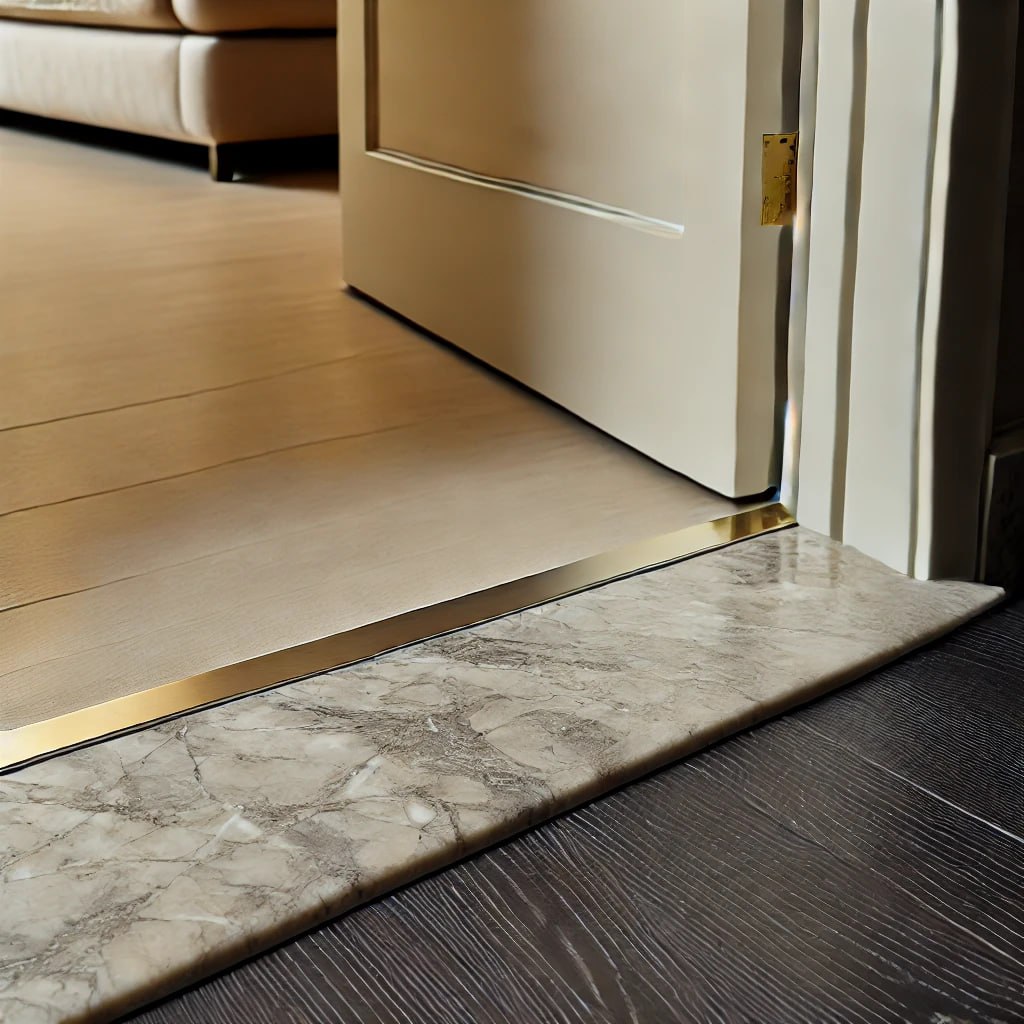
When I first considered installing a marble door threshold in my home, I wasn’t sure where to start. It seemed like a simple feature, but as I learned more about it, I realized how much it could improve the aesthetics and functionality of my entryways. A marble door threshold serves as more than just a transition between rooms; it enhances the look of the space while also providing a practical solution for leveling floors and keeping dirt and drafts out.
In this post, I’ll share everything I’ve learned from my experience with marble door thresholds, including why they’re a great choice, how to install them, and tips for maintaining them.

What is a Marble Door Threshold?
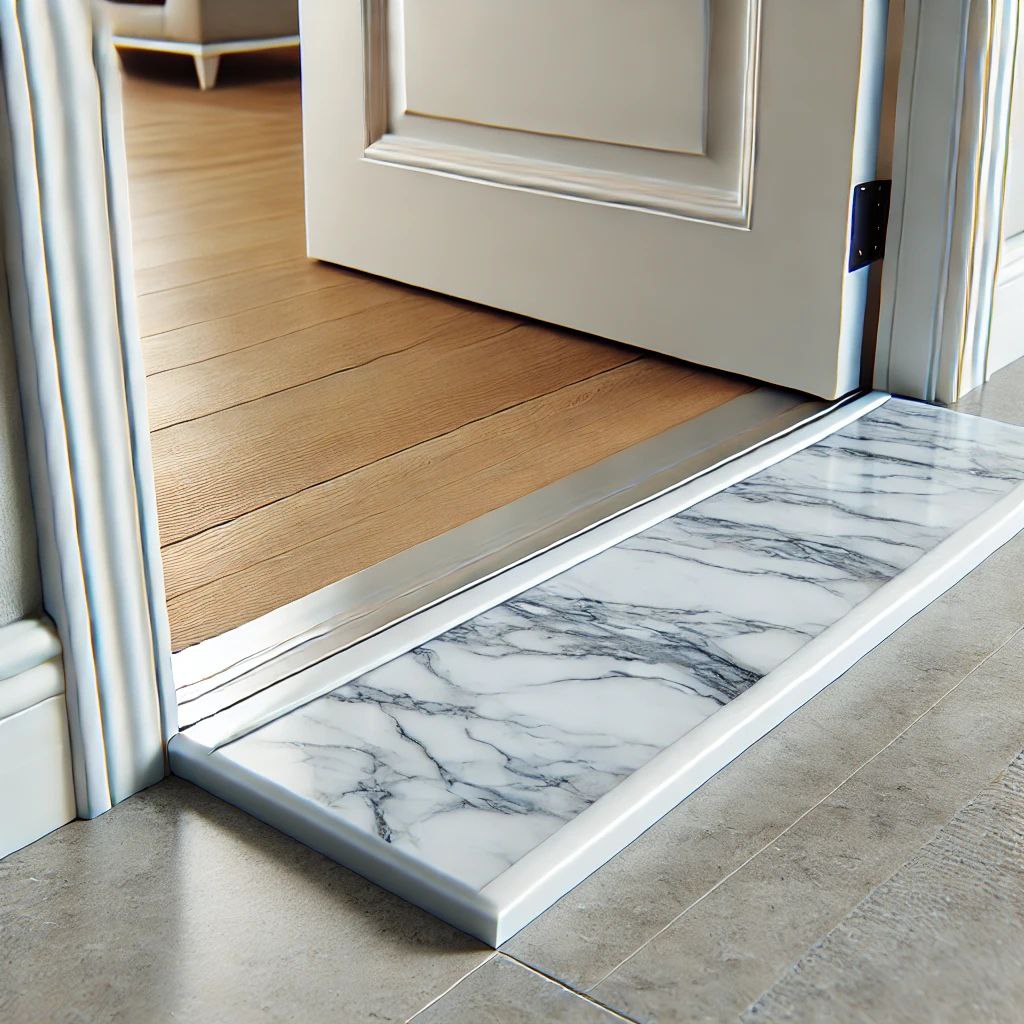
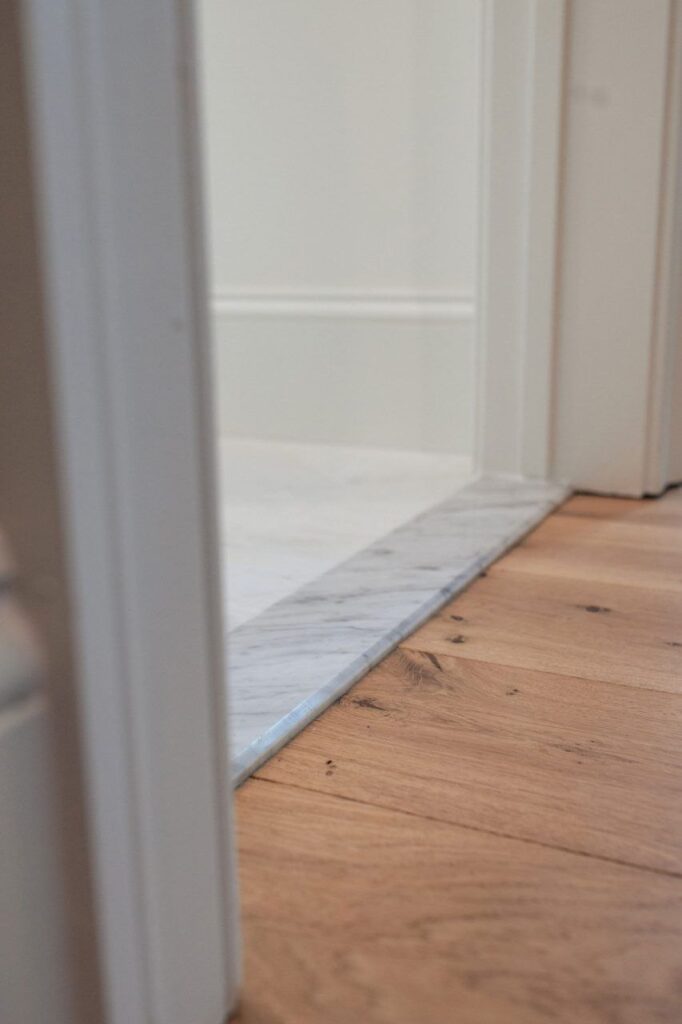
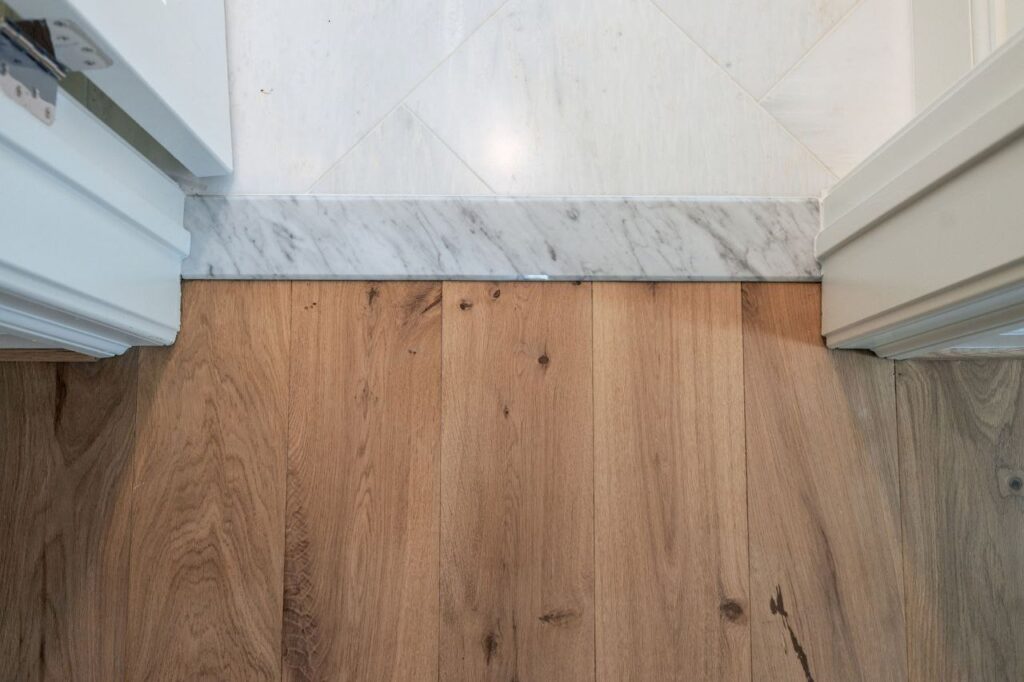
A marble door threshold is a small, durable strip of marble placed at the base of a doorframe. Its primary purpose is to bridge the gap between two different flooring types or levels while protecting the doorframe from wear and tear. But for me, the appeal goes beyond practicality. The natural allure of marble brings an elegant touch to any space.
Why I Chose a Marble Door Threshold
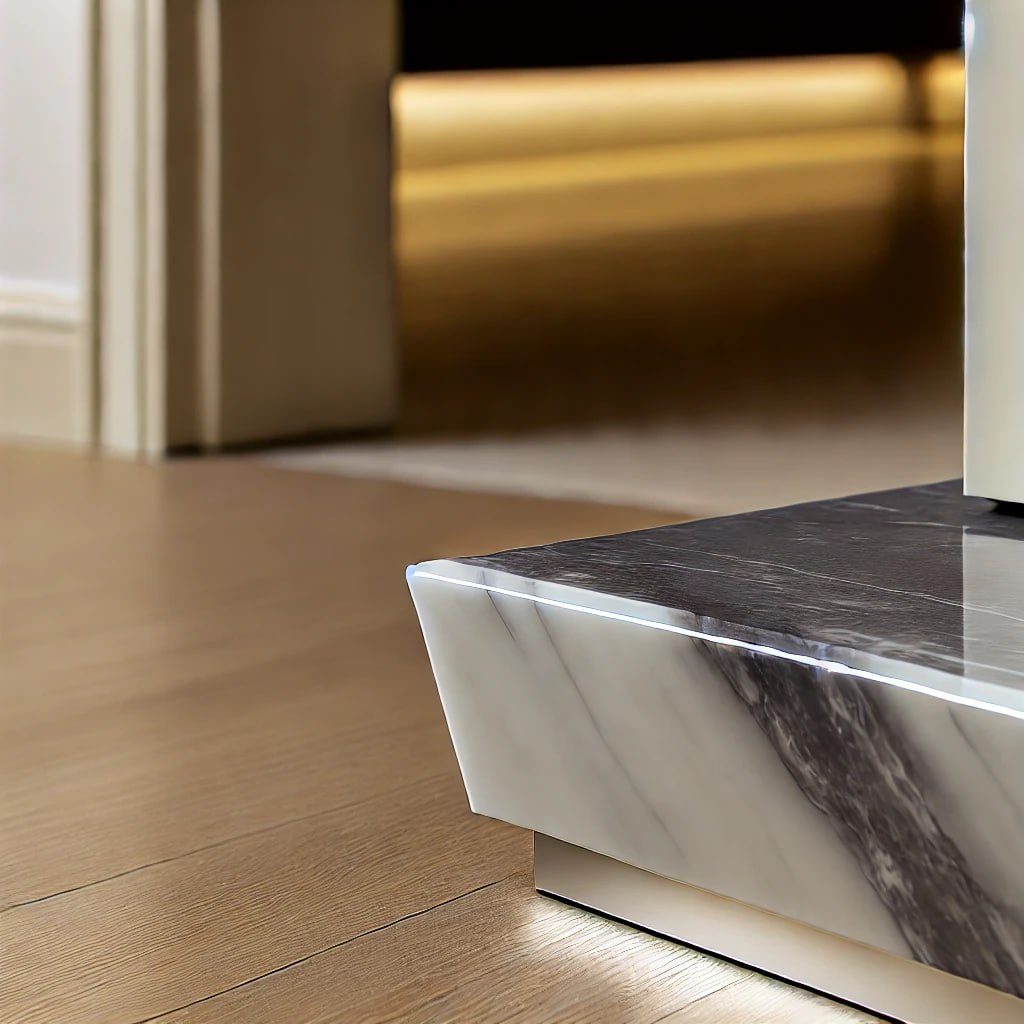
When I started researching thresholds, I was overwhelmed by the options: wood, metal, rubber, and more. However, marble caught my attention because of its durability and appearance. Unlike wood or metal, marble is a natural stone that can withstand heavy foot traffic, and it doesn’t rust or warp over time. Plus, it’s easy to clean, and that’s important when you’re dealing with high-traffic areas.
Benefits of Installing a Marble Door Threshold
There are several reasons why a marble door threshold is an excellent choice for homeowners. Here’s why I found it to be the right solution for my home:
1. Durability and Longevity
I wanted something that would last, and marble offers just that. It’s strong, resistant to scratches, and can handle frequent use without showing signs of wear. Unlike wooden or metal thresholds, marble doesn’t require frequent replacement, making it a long-term investment.
2. Easy to Clean and Maintain
In my household, spills and dirt are inevitable, but marble is incredibly easy to maintain. A simple wipe-down with a damp cloth is usually enough to keep it clean. I don’t have to worry about stains setting in because marble is naturally resistant to moisture.
3. Enhances Home Aesthetics
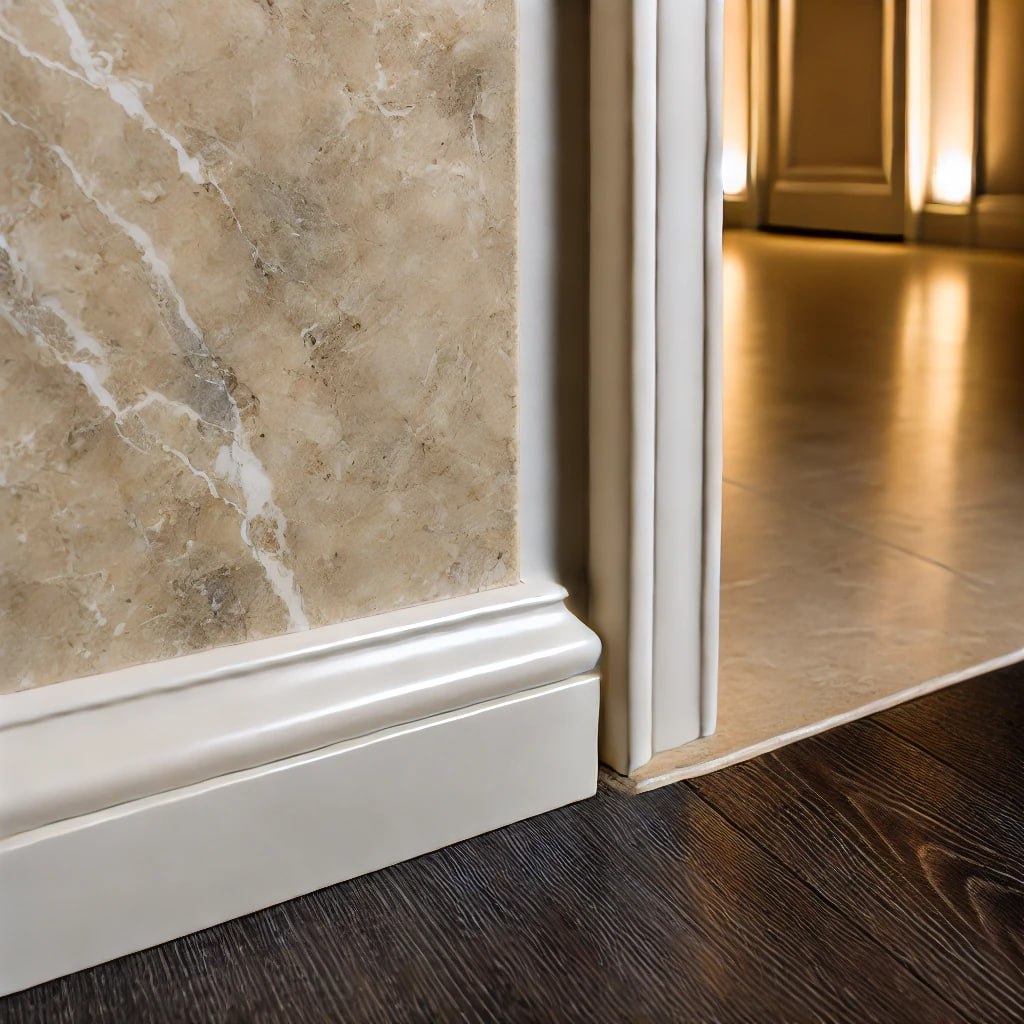
One of the biggest reasons I went for a marble door threshold is its aesthetic appeal. It adds a refined look to my entryways, blending seamlessly with the marble tiles in my home. Whether you have modern or traditional decor, marble can elevate the overall appearance of your home.
4. Helps with Temperature Control
I live in an area with cold winters, so I was pleasantly surprised to find that my marble threshold helps reduce drafts from under the door. This has made my home more energy-efficient and comfortable.
5. Perfect for Uneven Floors
I have rooms with slightly different floor heights, and the marble door threshold helps create a smooth transition between them. This not only improves the visual flow of the space but also prevents tripping hazards.
Types of Marble Door Thresholds
As I explored the options for marble thresholds, I learned that there are various types to suit different needs. Here are the main types I considered:
1. Standard Marble Thresholds
This is the most common type, and it’s what I ultimately chose. It’s a flat strip of marble that covers the gap between two floors. It’s perfect for areas like doorways and entries between rooms with similar floor heights.
2. Tapered Marble Thresholds
In cases where the floors on either side of the door are uneven, a tapered threshold works well. It gradually slopes from one side to the other, creating a smooth transition between different floor levels. This is a great choice if you’re dealing with slight height differences between rooms.
3. Double Hollywood Beveled Marble Thresholds
If you’re looking for something more decorative, the double Hollywood bevel style might be a good option. It has beveled edges on both sides, adding a bit of flair while still serving the functional purpose of a threshold. I considered this option but ultimately went with a more minimal design.
How to Install a Marble Door Threshold: A Step-by-Step Guide
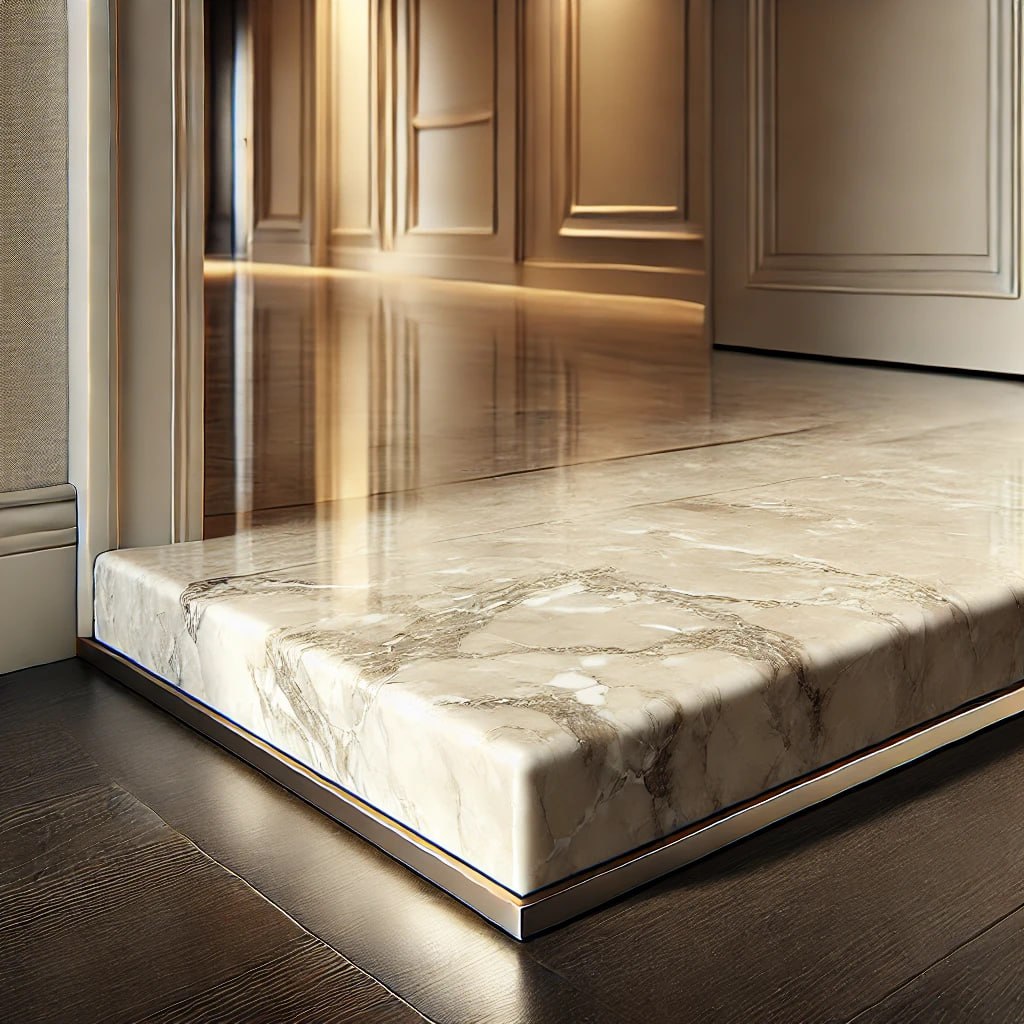
Once I decided on a marble door threshold, the next step was installation. Here’s how I did it:
Tools and Materials:
- Marble threshold
- Measuring tape
- Wet saw (for cutting marble)
- Adhesive or mortar
- Trowel
- Level
- Grout (optional)
- Caulk gun
Step 1: Measure the Doorway
I started by measuring the width of the doorway to determine how long my marble threshold needed to be. I added a little extra to account for any adjustments I might need to make during installation.
Step 2: Cut the Marble (if necessary)
I used a wet saw to cut the marble threshold to the right length. It’s important to use a wet saw because it keeps the marble cool while cutting, preventing cracks or chips.
Step 3: Apply Adhesive
Next, I spread a thin layer of adhesive or mortar on the floor where the threshold would sit. I used a trowel to ensure an even layer.
Step 4: Position the Threshold
I carefully placed the marble threshold in position, making sure it was centered and level. This step is crucial because you don’t want the threshold to sit unevenly, which could cause issues with the door or create a tripping hazard.
Step 5: Adjust and Level
Once the threshold was in place, I checked it with a level to make sure it was perfectly aligned. I made slight adjustments by pressing down gently on any raised edges.
Step 6: Let it Set
I let the adhesive dry for the recommended time, which was about 24 hours. During this time, I avoided stepping on or disturbing the threshold.
Step 7: Seal the Edges
To finish off, I applied caulk along the edges of the threshold to seal any gaps. This helps prevent moisture from seeping underneath the threshold and causing damage.
Maintenance Tips for Your Marble Door Threshold
Maintaining a marble door threshold is relatively simple, but there are a few tips that I follow to keep mine looking its best:
1. Clean Regularly
I wipe down my threshold at least once a week to remove dirt and dust. A damp cloth or a mild cleaning solution works well, but it’s important to avoid harsh chemicals that could damage the marble.
2. Seal the Marble
Over time, marble can become porous, so I reseal my threshold every six months to keep it protected from stains and moisture. This process is quick and helps maintain the marble’s natural shine.
3. Be Careful with Heavy Objects
Marble is durable, but it’s still a stone, which means it can crack if something heavy is dropped on it. I’m always cautious when moving furniture or large items near the threshold to avoid accidental damage.
Common Questions About Marble Door Thresholds
Q: What is the purpose of a marble door threshold?
A: A marble door threshold serves multiple purposes: it bridges the gap between different flooring materials or levels, protects the doorframe from wear and tear, and adds a decorative element to your home.
Q: Can I install a marble door threshold myself?
A: Yes, it’s definitely possible to install a marble door threshold yourself. I did it, and while it requires some basic tools and patience, it’s a manageable DIY project.
Q: How do I clean a marble door threshold?
A: Cleaning is simple. I usually just wipe mine down with a damp cloth. For tougher stains, I use a mild detergent. Avoid using abrasive cleaners or scrubbing too hard, as this can damage the marble surface.
Q: How much does a marble door threshold cost?
A: The price of a marble door threshold can vary depending on the type of marble and size. I found that standard thresholds typically range from $20 to $50, while more decorative or larger thresholds can cost more.
Why I Love My Marble Door Threshold
Installing a marble door threshold in my home has been one of the best decisions I’ve made. It not only serves a practical purpose but also enhances the overall look of my home. I love how durable and easy it is to maintain, and it’s the perfect solution for transitioning between different flooring types.

If you’re considering adding a marble door threshold to your home, I highly recommend it. Whether you’re dealing with uneven floors, looking to prevent drafts, or simply want to add a touch of elegance to your entryways, a marble door threshold is a fantastic option. It’s an investment that will last for years and continue to add value and beauty to your home.

